
Introduction
We will explore this question and provide you with all the information you need to make an informed decision. We’ll discuss the factors to consider, the potential challenges you may encounter, and the steps you can take to successfully replace your kitchen sink without replacing the countertop.
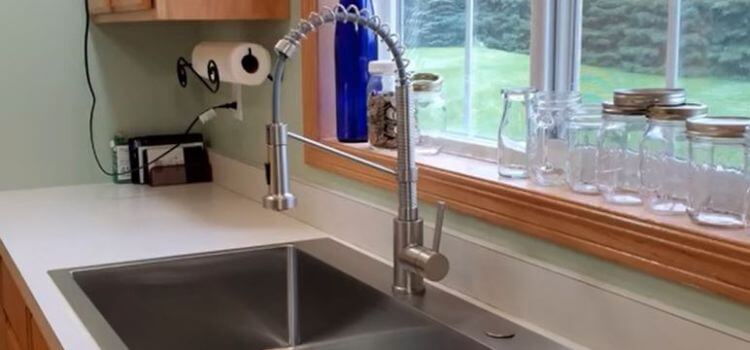
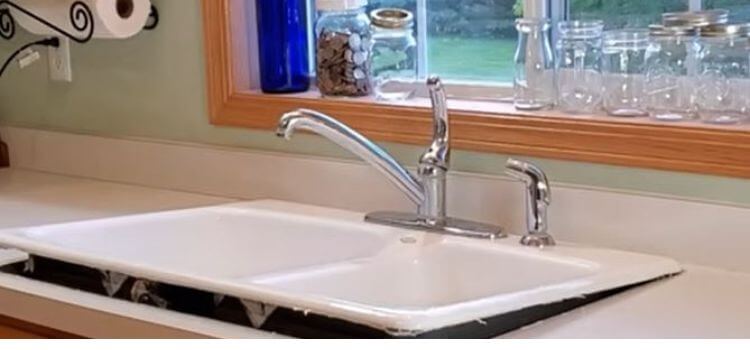
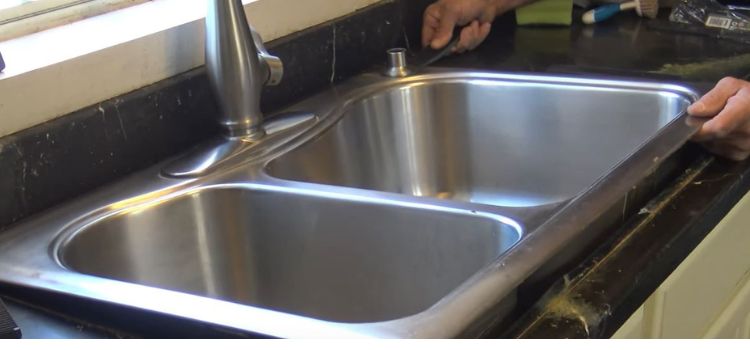
Determine if the Sink can be Removed Without Damaging the Countertop
Before attempting to replace a kitchen sink without replacing the countertop, it is important to assess whether or not the sink can be removed without damaging the countertop. This will largely depend on the installation method and the materials used for the countertop.
For example, if the sink is top-mounted and the countertop is made of a durable material such as granite or quartz, it may be possible to remove the sink without causing any damage. However, if the sink is under-mounted or the countertop is made of a more delicate material like laminate or tile, it may be more challenging to remove the sink without damaging the countertop.
Here are Some Tips Before Replacing the Counter Top
Certainly, once you’ve successfully replaced your kitchen sink without replacing the countertop, it’s time to clean up and enjoy your upgraded kitchen space. Here are some steps to ensure everything is in order:
Clean the Work Area: Start by cleaning up the immediate work area around the sink. Remove any debris, old caulk, or materials left from the installation process.
Check for Leaks: Turn on the water supply to the sink and check for any leaks in the plumbing connections. Ensure that both the hot and cold water faucets are functioning correctly.
Test the Drain: Fill the sink with water and then release it to test the drainage. Make sure water flows smoothly down the drain without any blockages or slow drainage issues.
Reinstall Accessories: If you removed any accessories such as faucet fixtures, soap dispensers, or garbage disposals during the installation, now is the time to reinstall them. Ensure they are securely in place.
Clean the Sink: Give your new sink a thorough cleaning. Use a mild detergent or a kitchen sink cleaner to remove any residue or marks from the installation process.
How Long Does it Take a Plumber to Install a Kitchen Sink?
The complexity of the installation, the type of sink being installed, and any additional plumbing work that may be required can all impact the timeline.
On average, a simple kitchen sink installation can take anywhere from 1 to 3 hours. This includes removing the old sink, installing the new sink, connecting the plumbing, and ensuring everything is properly sealed and functioning.
If there are additional tasks such as rerouting pipes, installing a garbage disposal, or making adjustments to the existing plumbing, the installation time may be longer.
Measure the Dimensions of the Existing Sink and Countertop
To measure the dimensions of your existing sink and countertop, you’ll need a tape measure or a ruler. Here are the steps to measure both:
Sink Dimensions: Measure the length of the sink from left to right (side to side).Measure the width of the sink from front to back (front edge to the back edge).Measure the depth of the sink from the top edge to the bottom. You can do this by measuring from the inside bottom of the sink to the top rim.
Countertop Dimensions: Measure the length of the countertop from one end to the other, typically along the front edge.Measure the width of the countertop, which is the depth from the front edge to the back edge.
FAQs
Can you replace the kitchen faucet without replacing the countertop?
Yes, you can absolutely replace a kitchen faucet without having to replace the entire countertop. It may require some plumbing knowledge and tools, but it is definitely doable. Don’t let the fear of having to replace the countertop hold you back from updating your kitchen faucet.
Can you reuse the sink with a new countertop?
Yes, you can absolutely reuse a sink with a new countertop. As long as the sink is in good condition and fits with the new countertop, there is no reason why you can’t reuse it. It’s a great way to save money and reduce waste by repurposing items in your home. Plus, it allows you to keep a sink that you already love, and that fits your needs. So go ahead and reuse that sink with your new countertop!
Conclusion
Replacing a kitchen sink without replacing the countertop is possible in some cases, but it may require professional assistance and careful planning. It is important to consider the type of sink, the condition of the countertop, and the compatibility of the new sink with the existing plumbing and fixtures. If you are unsure or inexperienced in this area, it is recommended to consult with a professional to ensure a successful and safe installation.