
Introduction
Building a floor-to-ceiling cabinet can be daunting, but it is achievable with the proper guidance and a solid plan. This post will provide step-by-step instructions and tips on building a beautiful and functional floor-to-ceiling cabinet for your home. Whether you’re a seasoned DIY enthusiast or a beginner, this post will walk you through the process and give you the confidence to tackle this project. So, grab your tools, and let’s get building!
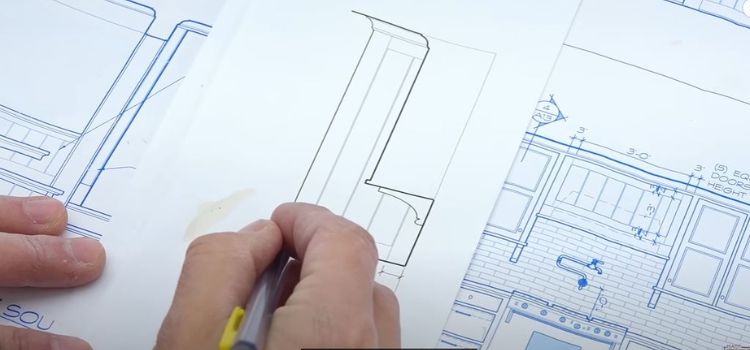
Measure the space and plan the design
Before starting your project, measure the space where you want to install the floor-to-ceiling cabinet. This will help you determine the dimensions and ensure they fit perfectly in the designated area. Additionally, plan the design of your cabinet, including the number of shelves, drawers, and any other features you want to incorporate. This will give you a clear vision of what you want to achieve and guide you through the construction process.
Gather the necessary materials and tools
Once you have your measurements and design in place, gather all the materials and tools for the project. This may include wood, screws, nails, a saw, drill, sandpaper, and paint, among other items. Make sure to have everything you need before you start building to avoid any delays in the construction process.
For the project. This may include wood, screws, nails, a saw, a drill, sandpaper, and paint or stain. Ensure you have everything you need before building to avoid delays or interruptions during construction. Having all the materials and tools on hand will also help you stay organised and focused as you work on your floor-to-ceiling cabinet.
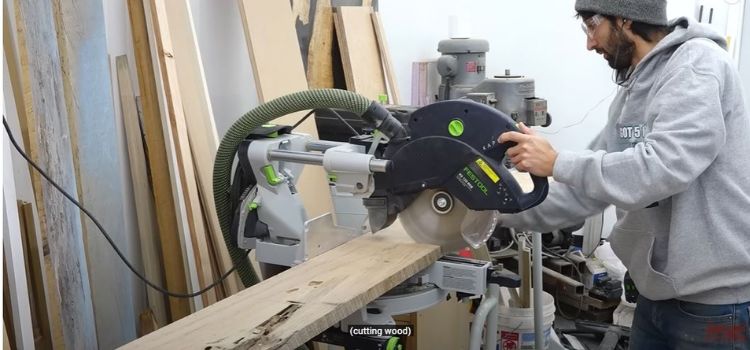
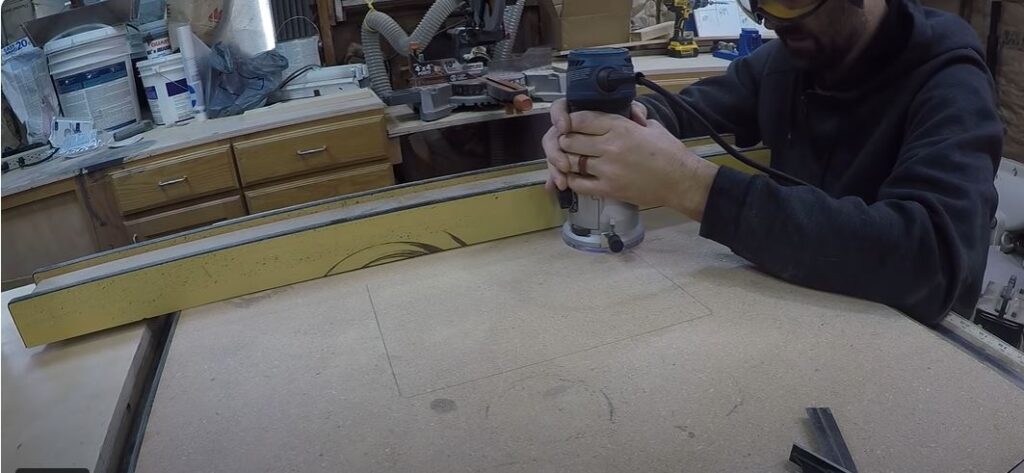
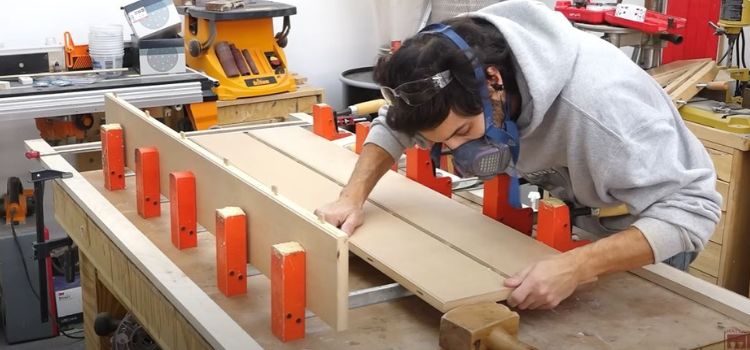
Cut the wood to the appropriate sizes
Next, you must cut the wood to the appropriate size based on your measurements and design. Use a saw to carefully cut the wood according to your plans, double-checking all measurements before cutting. This step is crucial to ensure that all the pieces fit together correctly and that your cabinet is sturdy and functional. Take your time and be precise with your cuts to avoid any mistakes that could affect the overall quality of your floor-to-ceiling cabinet. Once all the pieces are cut to size, you can move on to the next steps in the construction process.
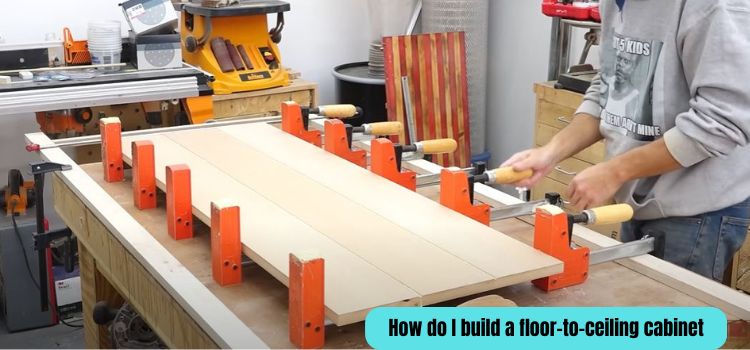
Assemble the frame of the cabinet
Once you have all the pieces cut to size, it’s time to start assembling the frame of the floor-to-ceiling cabinet. Use screws and wood glue to securely attach the pieces, following your design and measurements, to ensure a sturdy and durable frame. Take your time to ensure everything is aligned and level, as this will ensure that your cabinet is stable and will last for years. Once the frame is assembled, you can add shelves, doors, and other finishing touches to complete your beautiful floor-to-ceiling cabinet. With careful planning and attention to detail, you can create a stunning and functional cabinet that adds storage and style to your home. So roll up your sleeves, gather your materials, and start building your floor-to-ceiling cabinet today!
Add shelves and doors
Once the cabinet frame is assembled, it’s time to add the shelves and doors to complete your floor-to-ceiling cabinet. Measure and cut the shelves to fit inside the frame, ensuring they are level and secure. Use wood glue and screws to attach the shelves to the frame, making sure they are sturdy and able to hold the weight of your items. For the doors, measure and cut the wood to fit the frame and attach hinges to the door and frame. Make sure the doors open and close smoothly and are correctly aligned. Once the shelves and doors are in place, you can add any finishing touches, such as knobs or handles, to complete the look of your cabinet. With careful attention to detail and precision, you can create a stunning and functional floor-to-ceiling cabinet that will add storage and style to your home. So gather your materials and build your beautiful cabinet—your hard work will pay off in the end!
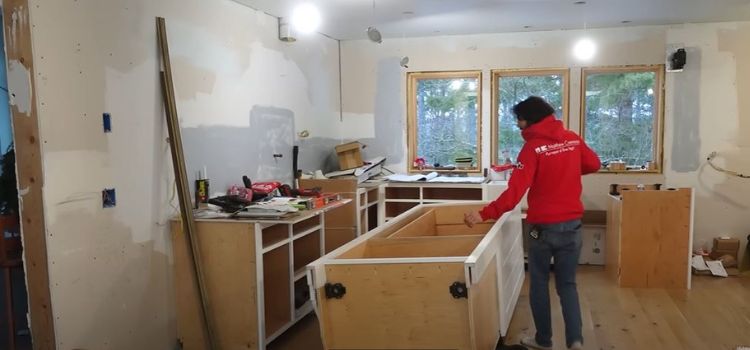
Install the cabinet securely on the wall
Use a stud finder to locate the studs on the wall and mark their locations. Then, use screws to attach the cabinet to the studs, ensuring that it is level and secure. This is crucial for the safety and stability of the cabinet, especially if it is a floor-to-ceiling design. You want to ensure it is securely fastened to the wall to prevent accidents or damage. Take your time to ensure the cabinet is installed correctly, and don’t hesitate to seek help if needed. Your efforts in securely installing the cabinet will ensure that it is a functional and safe addition to your home. So, take on the challenge of installing the cabinet and never say “no” to trying. Your hard work will pay off, and you’ll have a beautiful and secure floor-to-ceiling cabinet to enjoy for years.
Add finishing touches and paint or stain as desired
This will give your floor-to-ceiling cabinet a polished and professional look. Take the time to carefully apply the finishing touches, as this will significantly enhance the overall appearance of the cabinet. Whether you choose to paint or stain the cabinet, make sure to follow the proper procedures and allow for adequate drying time. The finishing touches will make your cabinet stand out and add a personal touch to your home. Once the cabinet is complete, step back and admire your hard work. You have successfully built a beautiful and functional floor-to-ceiling cabinet that will enhance the value and aesthetics of your home. So, take on the challenge and set the goal of creating this cabinet, and with perseverance and dedication, you will achieve your desired outcome.
Enjoy your newly built floor-to-ceiling cabinet
Building a floor-to-ceiling cabinet can seem daunting, but you can achieve a professional and polished look with the right tools and determination. Start by carefully measuring and cutting the pieces of wood to ensure a perfect fit. As you assemble the cabinet, take your time and make sure everything is level and secure. Once the structural work is complete, focusing on the finishing touches is essential. Whether you choose to paint or stain the cabinet, make sure to follow the proper procedures and allow for adequate drying time. These finishing touches will significantly enhance the overall appearance of the cabinet and give it a personalised touch. After all the hard work and dedication, admire your newly built floor-to-ceiling cabinet. You have successfully achieved your goal and created a beautiful and functional piece that will enhance the value and aesthetics of your home. So, feel free to take on the challenge of building a floor-to-ceiling cabinet and set your goal high. With perseverance and dedication, you can achieve your desired outcome and enjoy the satisfaction of a job well done.
FAQs
What are floor-to-ceiling cabinets called?
Floor-to-ceiling cabinets are called “full-height cabinets” or “tall cabinets.” They are a great option for maximising storage space and creating a sleek, seamless look in your kitchen or bathroom.
What do you put between cabinets and ceilings?
Crown moulding is the perfect finishing touch to fill the gap between cabinets and ceilings. It adds a touch of elegance and completes the look of your kitchen or any room. Trust me, it’s the perfect way to add a polished and sophisticated touch to your home.
How do you make a cabinet step by step?
To make a cabinet step by step, you will need to gather all the necessary materials and tools, measure and cut the wood to the appropriate dimensions, assemble the pieces using screws or nails, and add finishing touches such as paint or stain. It’s essential to follow the instructions carefully and take your time to ensure that the cabinet is sturdy and well-built. With patience and attention to detail, you can create a beautiful and functional cabinet for your home.
Final thought
In conclusion, building a floor-to-ceiling cabinet may seem daunting, but it can be a rewarding and fulfilling project with the right tools, materials, and a clear plan. By measuring, cutting, and assembling each piece carefully, you can create a custom cabinet that perfectly fits your space and meets your storage needs. Plus, the sense of accomplishment and pride in completing a DIY project like this is truly priceless. So, don’t let the initial planning and preparation work deter you from taking on this project; the result will be well worth the effort. Happy building!