
Cooking on a grill is very popular, especially in the summer. However, the residue from cooking can build up on your grill rescue brush over time, making it less effective at cleaning your grill. Knowing the correct way to clean your brush is crucial to ensuring that it effectively removes debris and grease from your grill.
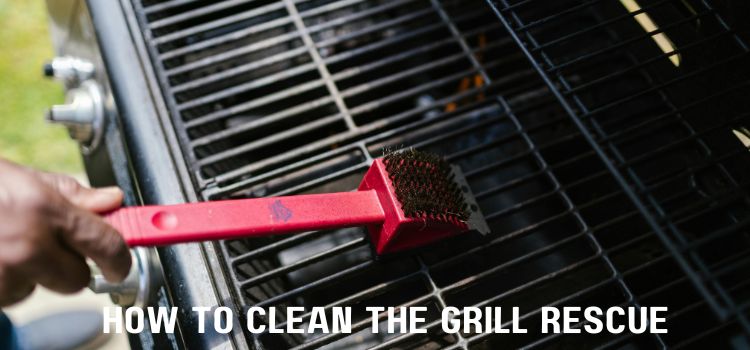
Are you tired of cleaning your grill rescue brush after every use? Look no further! This blog post will walk you through the step-by-step process of cleaning your grill rescue brush, ensuring it stays in top condition for years. Say goodbye to the hassle and frustration of cleaning your brush and hello to a simple and effective cleaning routine. Let’s dive in and make your grill cleaning experience a breeze!
Materials needed for cleaning
The grill rescue brush is a must-have for anyone who loves grilling, and all you need to clean it is
- A Bucket
- Warm, Oapy Water
- A Scrub Brush
- Clean Towel
Importance of Regular Cleaning
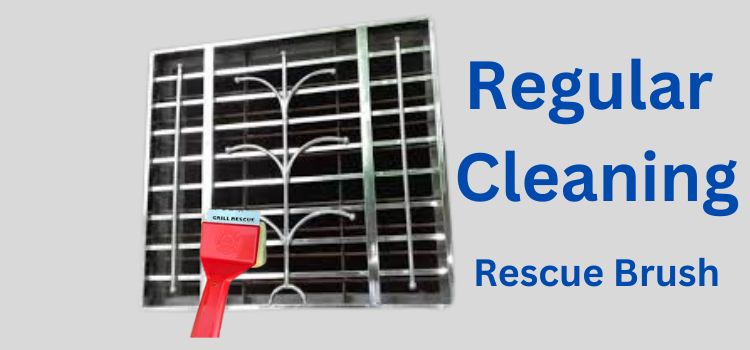
Keeping your grill rescue brush clean is crucial to ensuring that it effectively removes debris and grease from your grill. Regular cleaning will also extend the life of your brush, saving you money in the long run. Following a simple cleaning routine, you can keep your brush in top condition for years, making your grilling experience a breeze.
Don’t let built-up residue hinder the performance of your brush – take the time to clean it properly and enjoy a sparkling clean grill every time. So, grab your materials, and let’s get cleaning! Your grill rescue brush will thank you for it.
Step-by-Step Guide on How to Clean the Grill Rescue Brush
Cleaning your Grill Rescue brush is essential to keeping it in top working condition and ensuring it continues to clean your grill effectively. Here’s a step-by-step guide on how to clean your Grill Rescue brush:

Remove any debris
Start by removing large debris or food particles in the brush’s bristles. You can do this by tapping the brush against a hard surface or using a brush comb to loosen and remove the debris.
Rinse the brush
Rinse the brush under hot water to help remove any remaining debris and loosen any grease or grime that may be stuck on the bristles. You can also use a mild detergent or dish soap to help break down stubborn residue.
Scrub the bristles
Using a clean cloth or sponge, scrub the bristles of the brush to help remove any dirt or grime that may be stuck on them. Pay close attention to the bristles near the base of the brush, where grease and food particles accumulate.
Rinse again
Once scrubbing the bristles, rinse the brush under hot water to remove any remaining soap or residue. Make sure to thoroughly rinse all parts of the brush to ensure it is completely clean.
Allow to dry
After cleaning, allow the brush to air dry completely before using it again. You can also use a clean towel to pat dry the bristles and help speed up the drying process.
Store properly
Once the brush is completely dry, store it in a clean, dry place to prevent mold or bacteria growth. Avoid storing it in a damp or humid environment, as this can lead to bacteria growth and potentially damage the brush.
Wash the brush with hot, soapy water
Thoroughly. Pay close attention to the bristles near the base of the brush, where grease and food particles tend to accumulate. Rinse again to ensure all soap and residue are removed from the brush. Once scrubbing the bristles, rinse the brush under hot water to remove any remaining soap or residue. Make sure to thoroughly rinse all parts of the brush to ensure it is completely clean.
After cleaning, allow the brush to air dry completely before using it again. You can also use a clean towel to pat dry the bristles and help speed up the drying process. Once the brush is completely dry, store it in a clean, dry place to prevent mold or bacteria growth. Avoid storing it in a damp or humid environment, as this can lead to bacteria growth and potentially damage the brush.
Rinse thoroughly and air-dry
After washing, rinse your items thoroughly to remove any remaining soap or residue. Once rinsed, allow them to air dry completely before using or storing them. This will help prevent bacteria or mold from growing and ensure your items are clean and ready to use. So, always rinse thoroughly and air dry for the best results!
FAQs
How do you clean a grill with a grill rescue brush?
To clean a grill with a grill rescue brush, heat the grill to a high temperature, then use the brush to scrub away any residue. The heat will help loosen any stuck-on debris, making cleaning easier. The grill rescue brush is designed to easily remove grime and grease, leaving your grill looking and cooking like new. It’s a quick and efficient way to keep your grill in top condition.
What is a grill rescue brush made of?
The Grill Rescue brush is made of durable, high-quality materials designed to withstand the heat and pressure of grilling. It is made of a heat-resistant plastic handle and bristles that are tough enough to tackle even the toughest grime on your grill. This brush is built to last and make cleaning your grill a breeze.
How long does a grill brush last?
A good quality grill brush can last for several years with proper care and maintenance. Investing in a durable grill brush is worth it for its longevity and effectiveness in keeping your grill clean and well-maintained.
What can I use instead of a grill brush?
Instead of a grill brush, you can use a ball of aluminum or a crumpled-up piece to clean your grill. It’s just as effective and much safer than using a brush with bristles that can potentially come loose and end up in your food. Plus, it’s more environmentally friendly too!
Final Thoughts
In conclusion, keeping your grill rescue brush clean is essential for maintaining its effectiveness and ensuring your food stays safe. Regularly cleaning your grill rescue brush with warm, soapy water and a thorough rinse ensures that it remains in top condition for years to come. Don’t let a dirty grill rescue brush ruin your next barbecue—take the time to clean it properly and enjoy delicious, safe grilling every time.