
Introduction
Do you have water damage in your kitchen cabinets? Repairing kitchen cabinets with water damage can be daunting, but it doesn’t have to be. With the right tools and knowledge, anyone can repair water-damaged kitchen cabinets.
How to Repair Kitchen Cabinets with Water Damage
Do you have kitchen cabinets with water damage that need repair? It can be a tricky task to restore your cabinets, but it is possible. This article will explain how to repair kitchen cabinets with water damage and give some helpful tips and advice for getting the job done. Repairing kitchen cabinets with water damage requires carefully removing damaged areas, sanding down any raised areas, and then applying a new coat of primer and paint. Depending on the level of damage, you may need to replace the damaged parts with new wood or use wood filler to repair any smaller cracks and holes. Finally, it is important to ensure the cabinets are completely sealed off to avoid future water damage.
Identify the Extent of the Damage
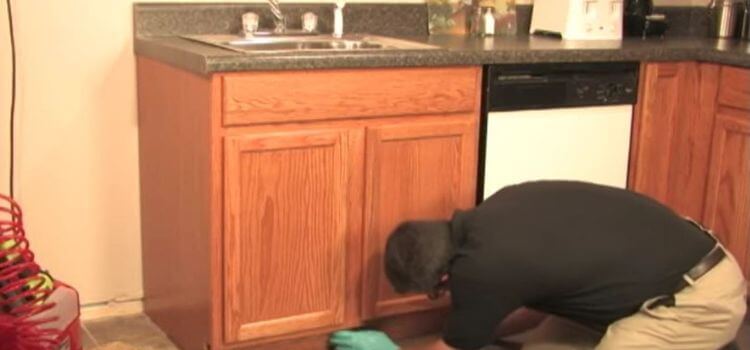
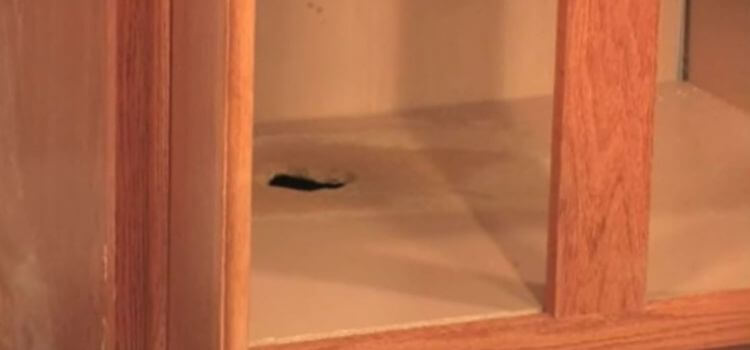
The first step to repairing kitchen cabinets with water damage is to identify the extent of the damage. This involves closely examining the cabinets to determine the severity of the damage. If the damage is minimal, you may be able to use wood filler or spackle to repair small cracks and holes in the cabinets. If the damage is more extensive, you may need to replace the entire cabinet with new wood.
Remove the Cabinet Drawers and Doors

To remove the cabinet drawers and doors, you will need to start by removing any screws or hinges that are securing them in place. Once these are removed, you can carefully pull the drawers and doors out of the cabinet. If the drawers and doors are stuck, you may need a flat-head screwdriver to pry them loose gently. Once removed, you can clean and inspect the drawers and doors before re-installing them.
Remove Hardware and Appliances
Once the cabinet drawers and doors are removed, the next step is to remove any hardware and appliances attached to the cabinet. This may include handles, knobs, and even sinks. To make this process easier, removing all of the hardware first and then the appliances is best. To remove the hardware, you will need a screwdriver and some pliers. Unscrew the screws from the cabinets and gently pull out the hardware. Once all the hardware is removed, you can move on to the appliances. You will need a friend to help you remove the devices. Lift the appliance up and out of the cabinet. Once the appliances are removed, you can inspect all the cabinets for water damage.
Repair Any Structural Damage
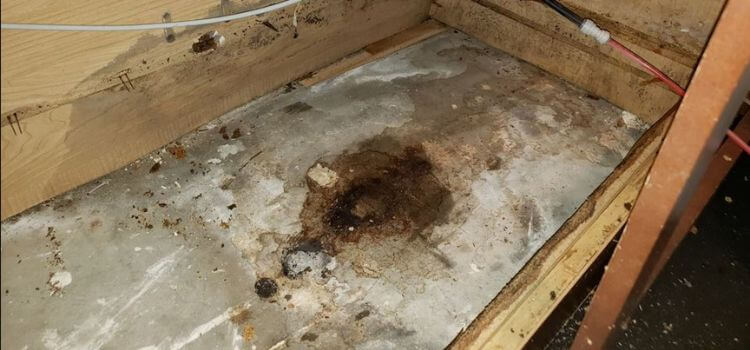
If you are noticing structural damage to your kitchen cabinet, there are some steps you can take to repair it. First, you should inspect the cabinet to determine the extent of the damage. You can use wood putty to fill in the crack if the damage is minor, such as scratches or dents. Make sure to sand the area once you’ve filled it in. You may also need a wood stain to match the cabinet’s colour.
If the damage is more extensive, such as cracks or breaks in the wood, you may need to replace the cabinet. To do this, you will need to measure the size of the cabinet and purchase a new one that is the same size. You can then remove the existing cabinet and install the new one.
Finally, you should check the cabinet’s hardware to ensure it is secure. If the screws or hinges are loose, tighten them up using a screwdriver. This will help ensure that the cabinet is structurally sound.
Following these steps, you should be able to repair any structural damage to your kitchen cabinet.
Sand and Clean the Cabinets
Preparing the Cabinets: Clean the cabinets with a mild detergent and warm water. If the cabinets have any food residue or grease, use a degreaser to remove it. Once the cabinets are clean, use a putty knife to remove any old paint or sealant.
Sanding the Cabinets: Use medium grit sandpaper to sand the cabinets. It is important to be thorough when filing, as this will help create a smooth surface for the new finish.
Cleaning the Cabinets: Use a vacuum or soft cloth to remove the dust from the cabinets after sanding. Make sure the entire surface is dust-free before you begin the next step.
Applying a Finish: You can apply a finish once the cabinets are clean and sanded. A wood sealant will help protect the cabinets and give them a glossy finish. You can also use a stain or paint to add colour. Apply the finish according to the instructions on the product.
Dry Out the Cabinets
After applying the finish, it is important to ensure the cabinets are completely dry. If there is any standing water or moisture, this can damage the wood and cause mould and mildew to form. It would help if you left the doors and drawers open overnight to allow them to air dry. If the wood is still wet after a few days, you may need a dehumidifier or fans to help dry the area. If there are any major cracks or splintering in the wood, you may need to repair them before applying a finish. Fill any gaps with wood glue or putty and let it dry before doing any further work.
Apply Primer and Paint Kitchen Cabinet
Prepare the surface: Before you repair the water damage, you must ensure that the surface is clean and free of any dust or dirt. Use a damp cloth to wipe down the surface and remove any buildup.
Apply a primer: Once the surface is clean, you must apply a primer. By doing this, you can help seal the surface and shield it from additional harm. Use a brush to apply the primer and let it dry for at least an hour.
Sand the surface: Once the primer is dry, you need to sand the surface. This will help smooth out imperfections and give the paint a better finish. Till the surface is smooth, sand it using fine-grit sandpaper.
Apply the paint: Once the surface is sanded, you can apply the paint. Apply the paint using a brush or roller. Be sure to use even strokes and to let the paint dry completely before applying a second coat.
Apply Sealant
Once you have finished painting the cabinets, it is important to apply a sealant to protect the cabinets from any water damage. This will help ensure that your cabinets look great and stay in excellent condition for years.
Reinstall all the Kitchen Cabinet Parts
After the paint has dried, it’s time to reinstall the cabinet parts. Using a drill, install the hinges, handles, and drawer slides. Make sure everything is secured properly. You may need to add additional screws if required. You may also want to replace the old screws on the cabinet that have become rusty or damaged due to water damage.
Once all the parts are in place, you may need to add paintable caulk to the sides and corners of the cabinets. This will help prevent any water from getting into the seams. This is especially important if you are using wood cabinets.
Let the caulk dry for at least 24 hours before using the kitchen cabinets. This will help ensure the caulk adheres to the surfaces and will help prevent water from getting into the cabinets. You may want to apply a second coat of caulk if the first coat doesn’t seem adequate. Once the caulk is dry, you can use the cabinets. With a little time and effort, you can repair kitchen cabinets with water damage and get them looking like new.
FAQs
How do I remove water-damaged wood from the cabinets?
The best way to remove water-damaged wood from the cabinets is to use a putty knife or a flathead screwdriver to pry the wood away carefully. Take cautious not to harm the timber around you.
What materials do I need to repair the cabinets?
You will need a putty knife, a flathead screwdriver, wood glue, filler, sandpaper, and a paintbrush.
How do I apply the wood glue?
Using a putty knife, you should apply the wood glue to the damaged area. Spread the glue evenly and make sure it is completely covering the damaged area.
How do I fill the damaged area with wood filler?
Once the wood glue has dried, you can fill the damaged area with wood filler. Use a putty knife to spread the stuffing evenly over the place.
How do I prevent future water damage?
Check the pipes and faucets regularly for leaks to prevent future water damage. You should also ensure the seal around the cabinets is tight and secure.
Conclusion
Repairing water-damaged kitchen cabinets can be a daunting task. But with the right tools, supplies, and elbow grease, you can have your kitchen cabinets looking as good as new in no time. It’s important to assess the damage before you begin, and it’s equally important to take the necessary steps to prevent future water damage. Inspect the area around the cabinets for any potential leaks and repair them before they cause further damage. With patience and hard work, you can easily improve your kitchen cabinets and make them look new!